Written by Gianluca Ippolito
Newired Journeys in a Nutshell
Newired Journeys is one of the products offered by Newired to help end users of software and applications better use and understand these digital resources. Journeys are, in a few words, guidelines which appear to end users in a sequence, normally consisting of several steps, which typically lead them to complete a task.
In this article, the sixth one in our series of articles for Journeys, we will explain how to create reliable Journeys. Now that we know what Journeys are and which process we should bear in mind while creating them, let’s understand them in a more technical way.
Journey reliability
Before we talk about having a reliable Journey, let’s define what “reliable” entails. A Journey which is technically fluent (i.e. doesn’t get interrupted for technical reasons) and does its job, guiding the user correctly through a given process on a web-based application, can be considered a reliable Journey.
In order to make a reliable Journey, we need to take care of a few essential things :
1) Understand how trustworthy the elements that compose the underlying web application are
In other words, we need to define which elements can be used for a correct connection with Newired Journey Steps and Tips. In some cases, certain elements might change when you do something on the base application. If for instance the elements are dynamic, they are not to be trusted as a basis to attach Steps or Tips, or you risk having unstable Journeys – they can fail during execution when the base element defined during the Journey creation can’t be found.
Element trustworthiness will depend on how the application was developed, so it is certainly useful to consult an IT person at your company to understand this. Once we have defined which elements can be trusted to establish a stable foundation of our Journeys and which ones are to be avoided, we can start creating them.
2) Be careful when thinking of the Journey design
We need to make sure that the flow of interactions between each step is carefully studied, so that the end users will not make mistakes or incorrect assumptions which might bring them out of the process, or worse, make the Journey fail.
For example, if on a given business process a user is required to click on a specific page element, it makes sense to apply the most adherent step transition – the click. If by clicking the wrong page element, a new URL is open and the element for the following Journey step thus can’t be found, the Journey may fail. In this case, you should predict this kind of mistake and add the spotlight effect to the clicking step, which will prevent users from clicking on unintended elements.
Still, in some cases, users can make mistakes even when the Journey is adherent and fluent. Such cases can be addressed with a correct use of the function “Step Actions”, which is able to dynamically read if something wrong occurred in the base application, and this way, guide the user back to the correct process. By establishing Step Actions, we can make sure that the Journey will be useful even when users make mistakes.
3) Keep it simple and effective
Less is more. You still have to keep in mind that a reliable Journey should be as simple as possible, both in terms of text content and in terms of step numbers. You need a good balance between simplicity and robustness.
Also, it is crucial to define, before creating a Journey, what you aim to have the end-user do and what kind of issues are going to be solved with the Journey. This will help you a lot when choosing which kinds of interactions are the best to guide users through the task and where they might get lost.
4) Think about parts of the process which can be skipped and add this possibility to your Journey
Some processes can be performed with a “shortcut”, i.e. skipping some steps.
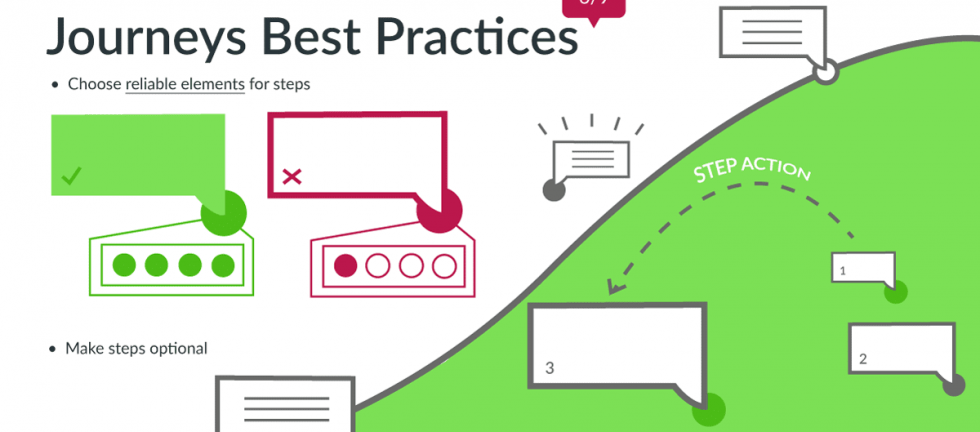
Defining skippable steps is another great way to make a Journey fail-proof. If there are some optional steps, then this might be the way to go! You can use skippable steps to contextually guide users even more by making Newired read and act according to what your users have done while they play the Journey. See below for an example.
5) Use Step Actions to predict different scenarios for your user
Some processes take on a different ending according to what the user does on the base application. With the right usage of this function, it is possible to make a very robust Journey that will follow the user as they go through a process. See below for an example.
Example
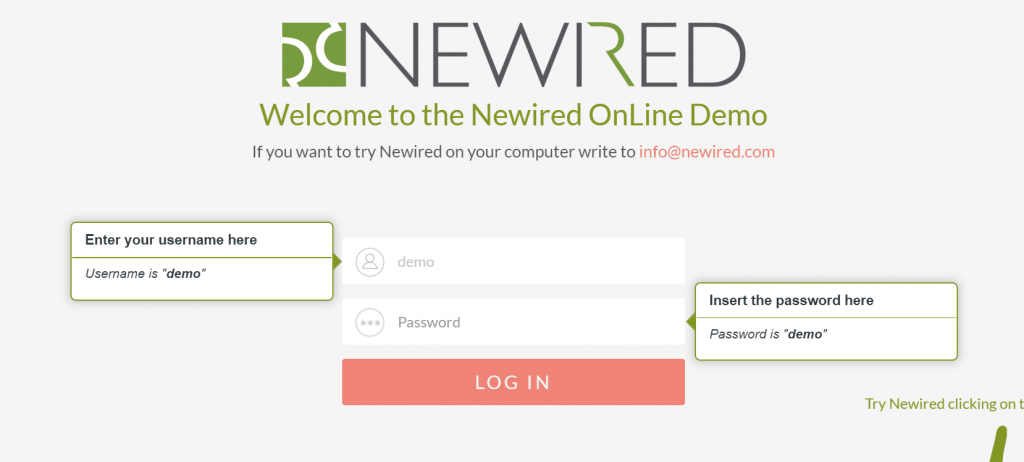
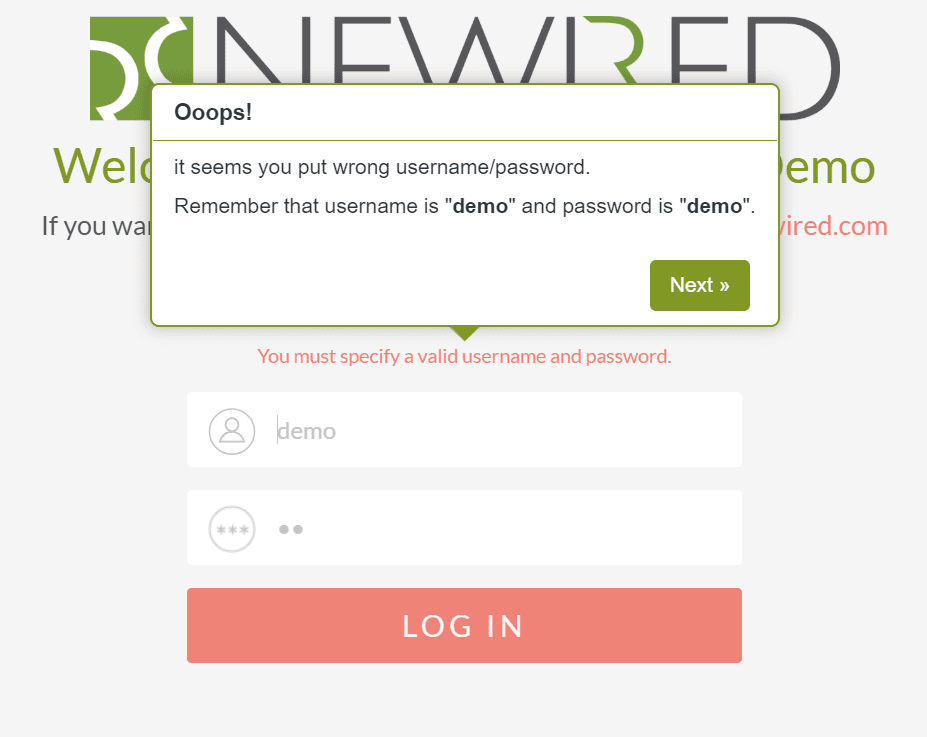
Skippable steps could be used during the login process. In a log-in Journey, If the user types the wrong username or password, a step that warns the user about the mistake pops up. But in case the user inserts the right information, the above-mentioned step does not appear. On the screenshots below, the user made a mistake and therefore saw the optional step called “Ooooops”. This step wouldn’t have appeared had the user completed the step smoothly.
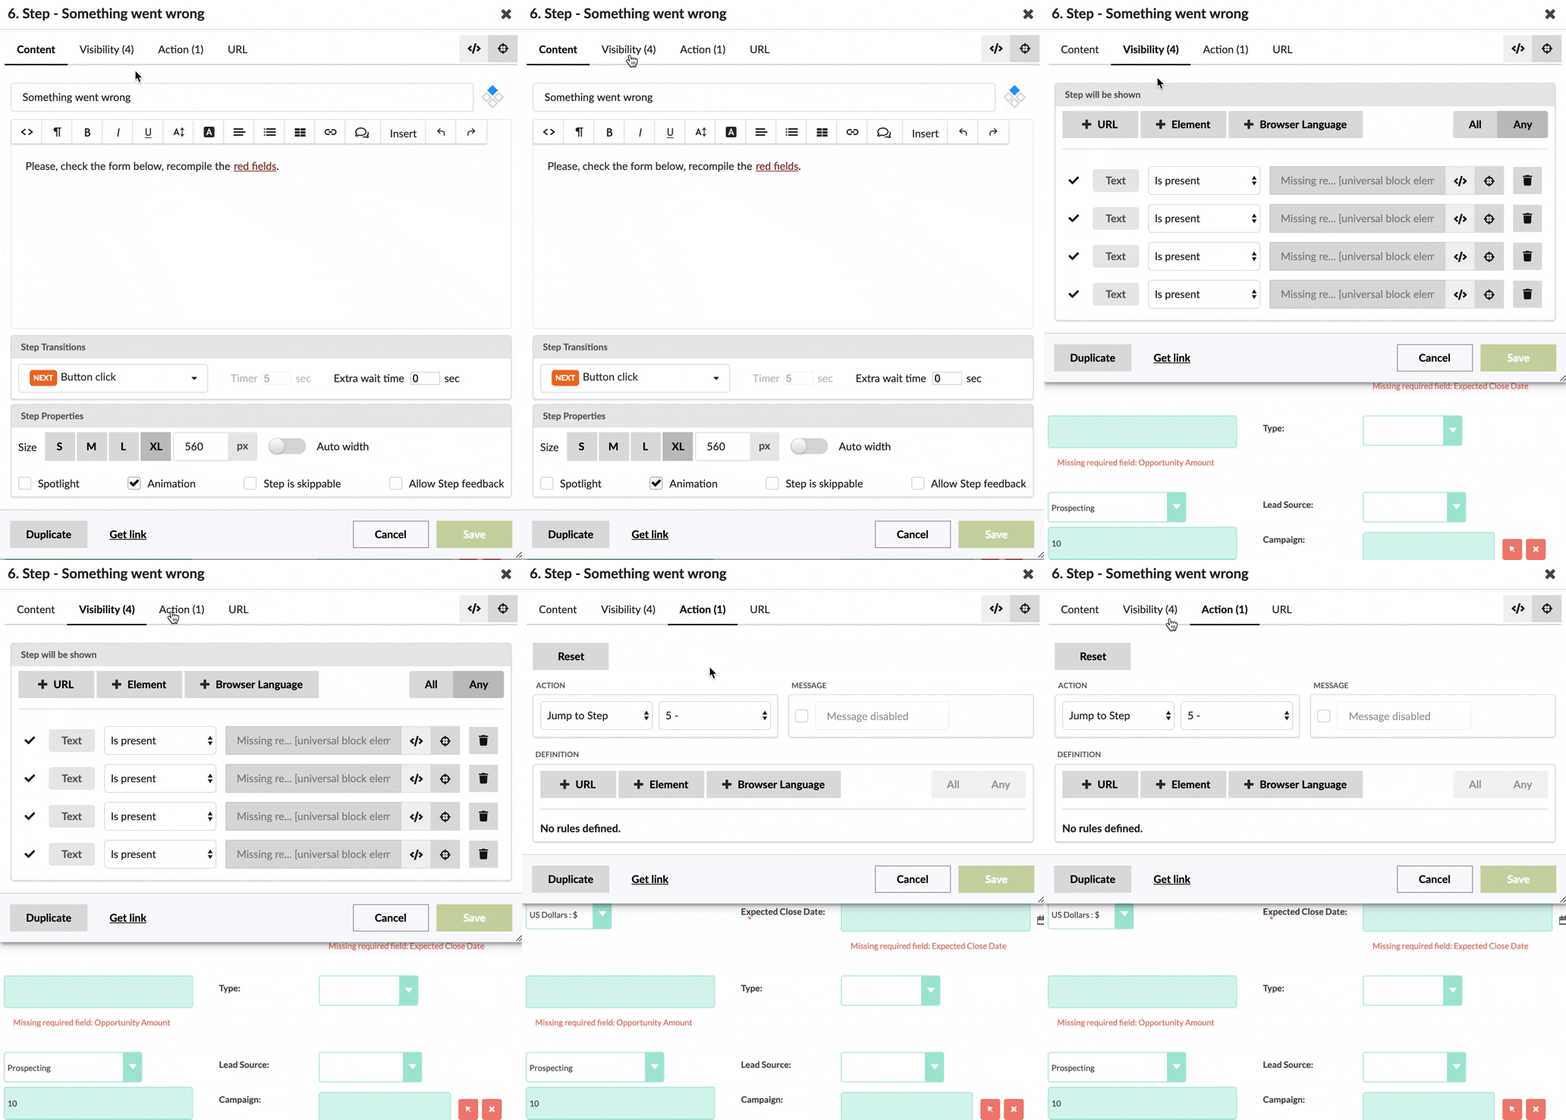
On this second example, the user forgot to fill in some mandatory fields. A skippable step called “Something went wrong” appears on the screen:
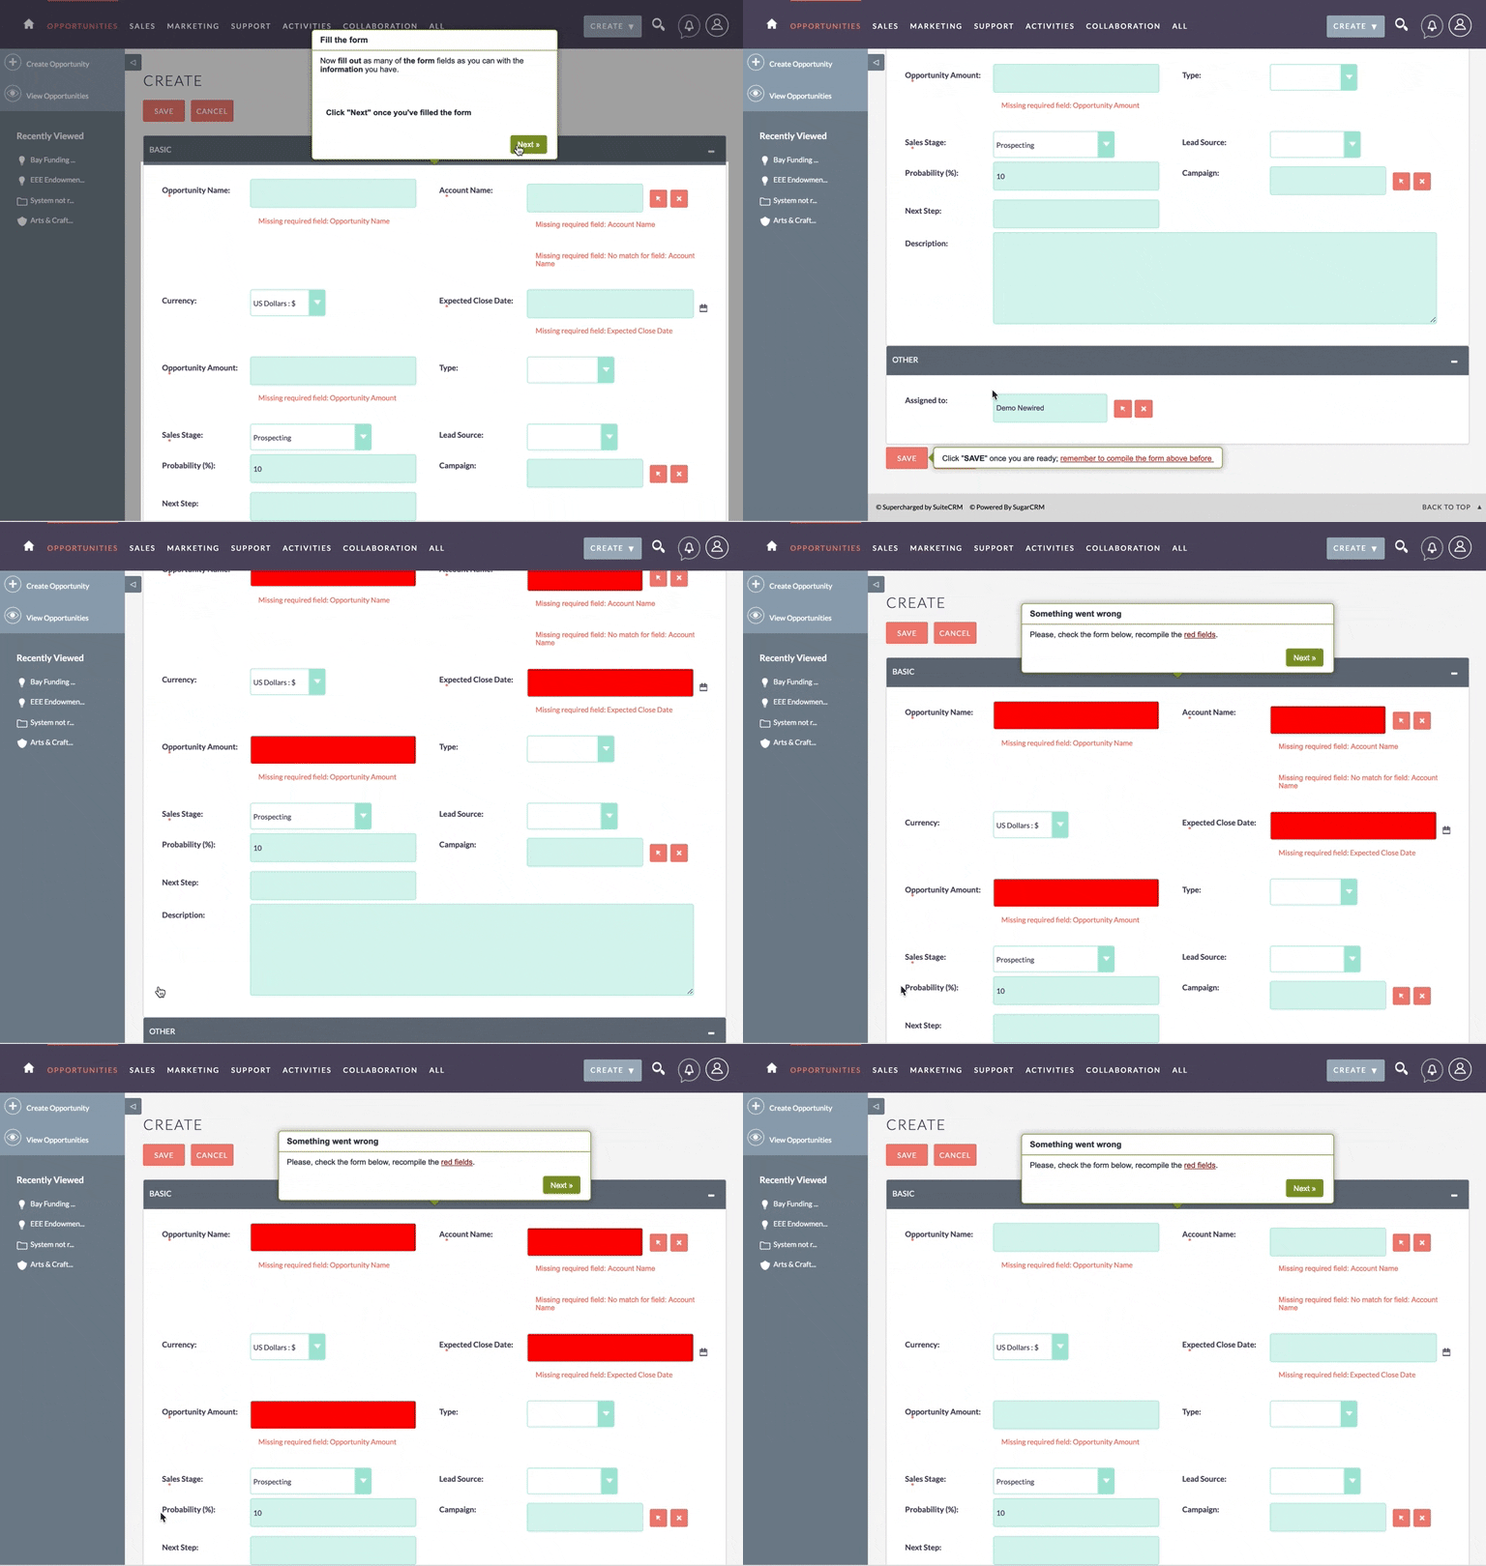
On technical terms, this is what happened during the Journey creation:
- The step which is to show up when users make a mistake is defined as “Skippable”;
- We define visibility rules to show this step only if the error message comes up on the base application – meaning that the user made a mistake.
- We define a step action to Jump to another given step. In this case, Step 5, which will make the user go through the process once again, from the step where they made a mistake.
Make sure you don’t miss any article in the series by registering here!
[popup title=”Subscribe to Journeys in a Nutshell” padding=”0″ button=”1″]Error: Contact form not found.
[/popup]Would you like to test Newired?
If you wish, we can also show you how to create Journeys on a live demo.


